STEP 1:
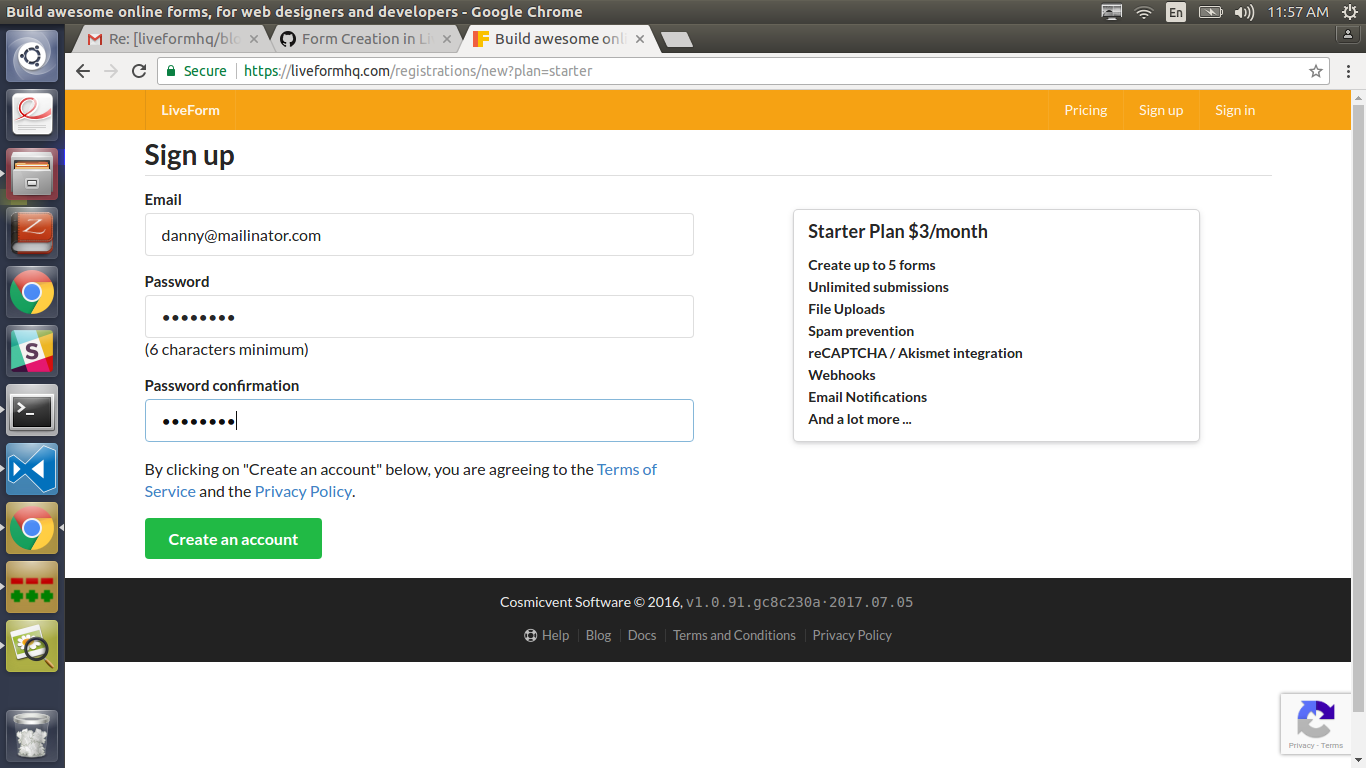
- Go to liveformhq.com website and click to the signup button shown on the right side of the header in orange color.
- There are three input elements, enter your email id danny@mailinator.com and password respectively, as shown below.
STEP 2:
- You will be confirmed by a message sent to your email id.
- In this scenario danny@mailinator.com will be sent a mail with instructions.
STEP 3:
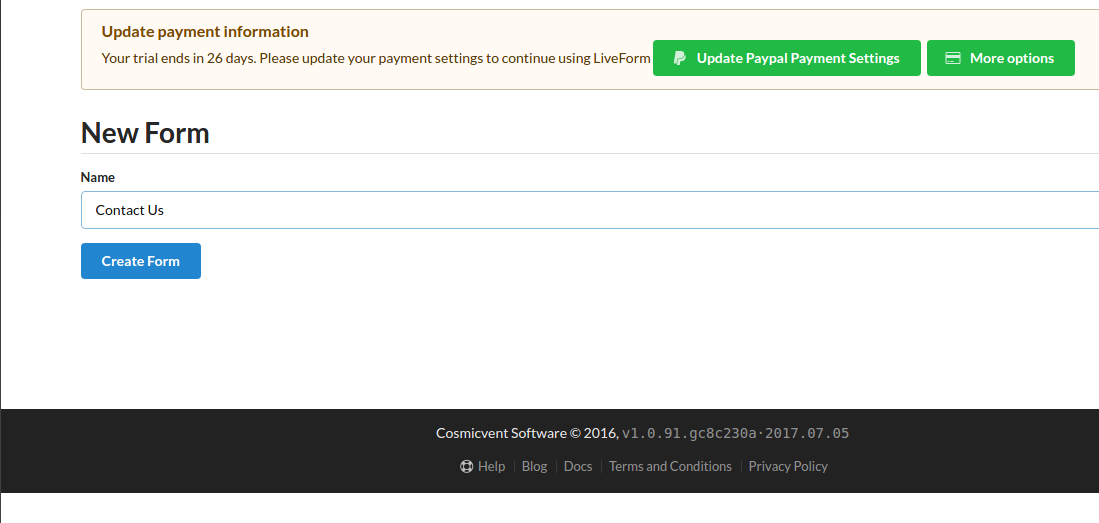
- A field for New Form will be shown, here you can enter any form name that you want to create.

- For example Contact Us is form name that you want to create.
- Click Create Form button and a form will be created.
STEP 4:
- After the form is created a notification message is shown at the top.
- You will be provided with a wide range of options from Messages to Edit…
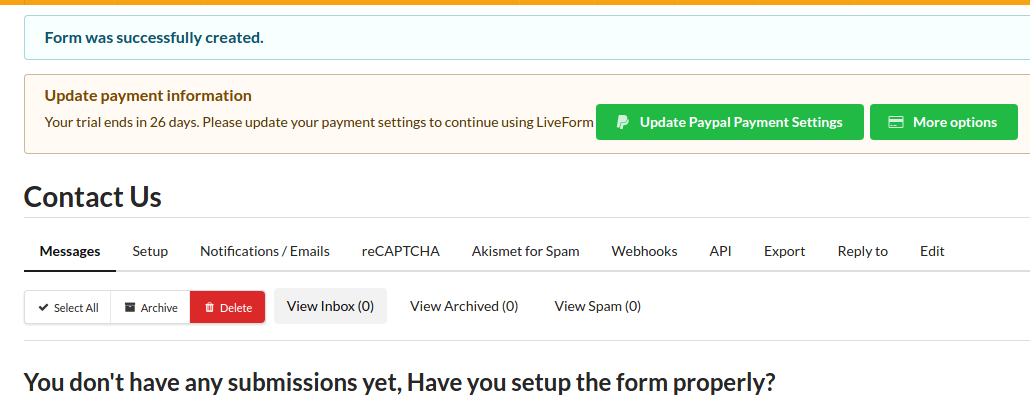
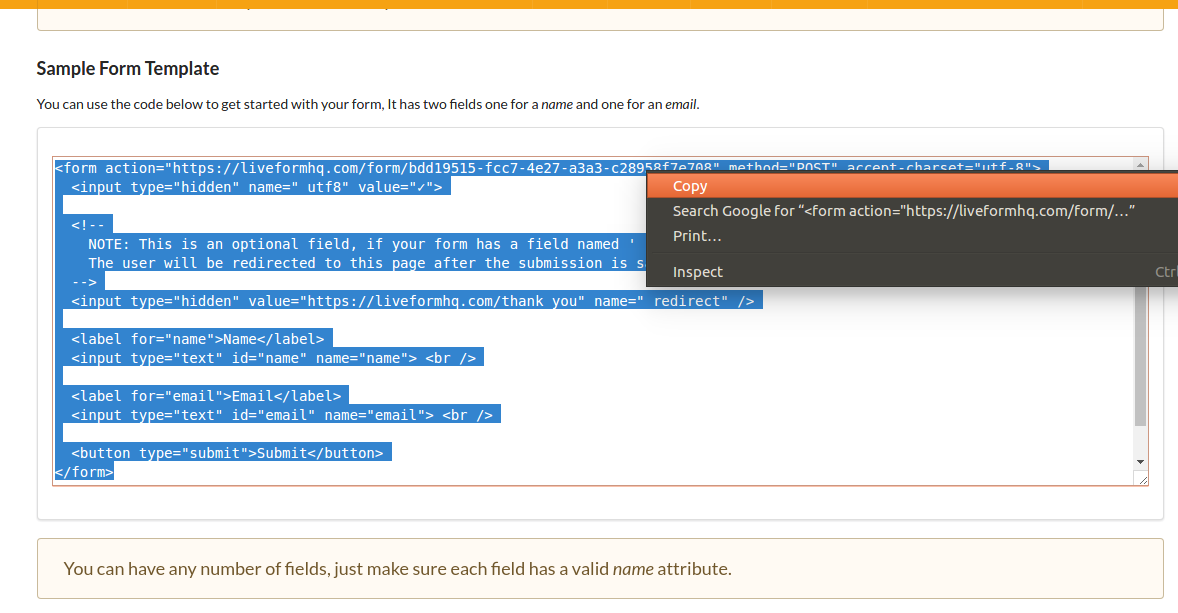
For first time setup click the option Setup in the bar and you will be forwarded to a page with an example form as shown.
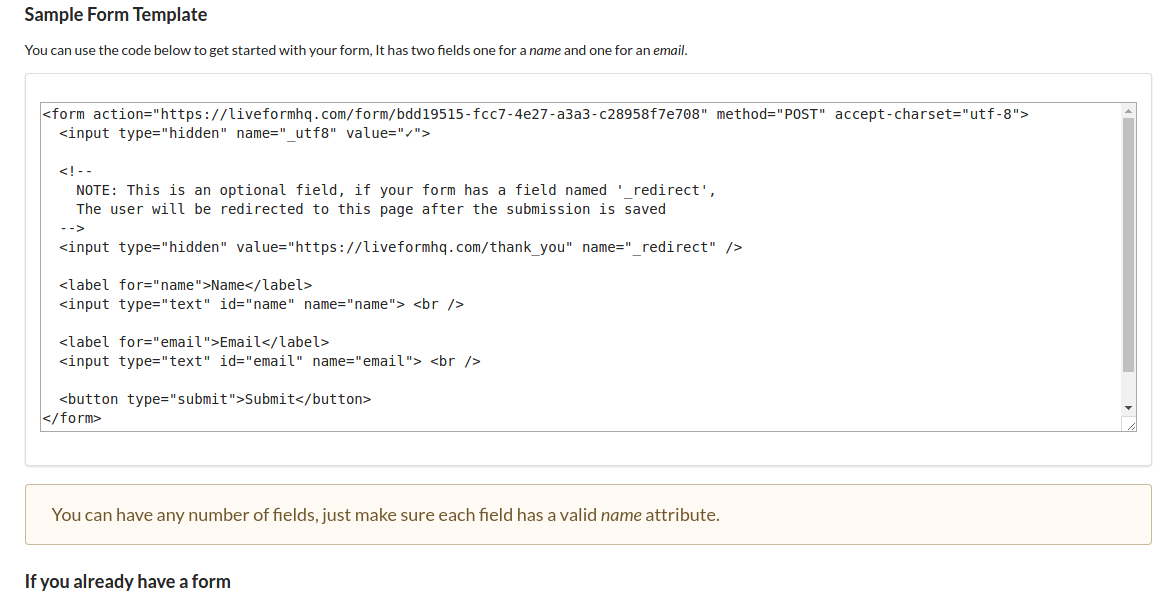
If you already have a form then all you have to do is change the form’s action and method attributes.
<form action="https://liveformhq.com/form/bdd19515-fcc7-4e27-a3a3-c28958f7e708" method="POST" accept-charset="utf-8">
...form code which is already present or created one as per your requirements….
</form>
- You can add any number….
- One such form with name and email fields is created as an example.
- Copy the code and paste in the file in your computer.
STEP 5:
- Browse to the file path in your favourite browser and submit the form as shown.
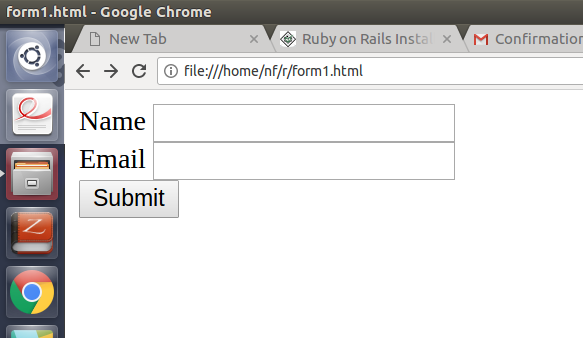
- Enter the fields as in our example the name of the person to contact is Amanda Fatima and the email id is amandafatima@gmail.com .
- Click submit button and a message will be sent to you.
- Any one can browse and thereby enter the information and create messages.

*You will be redirected to a “Thank You” page after submitting the form.

- When you sign in to your account at liveformhq.com a series of all the messages will be shown in the Messages tab of your particular form
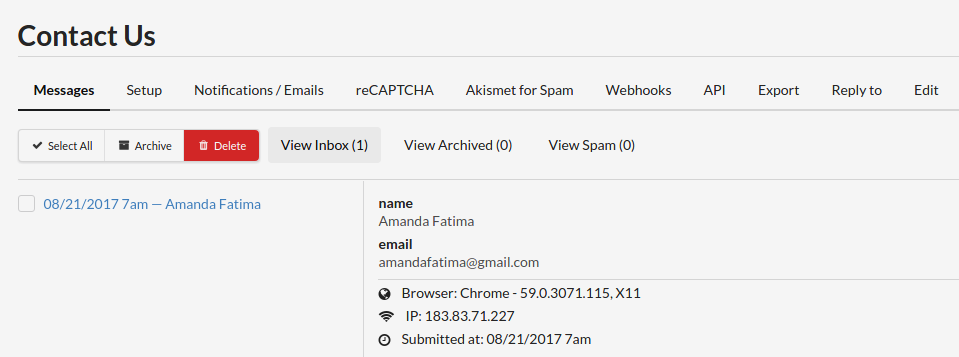
- That’s it! You have created a form and anyone can post it so that you can check it!