LiveForm now has a shiny new feature! The ability to customize the email notifications that you receive when a form is submitted. Let us look at an example of how to do this.
Let us setup a form from the beginning to see how to create custom outgoing email notifications.
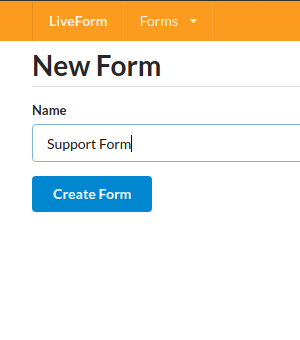
- Create a form
- Browse to the new “Customizable email templates” tab in the form.
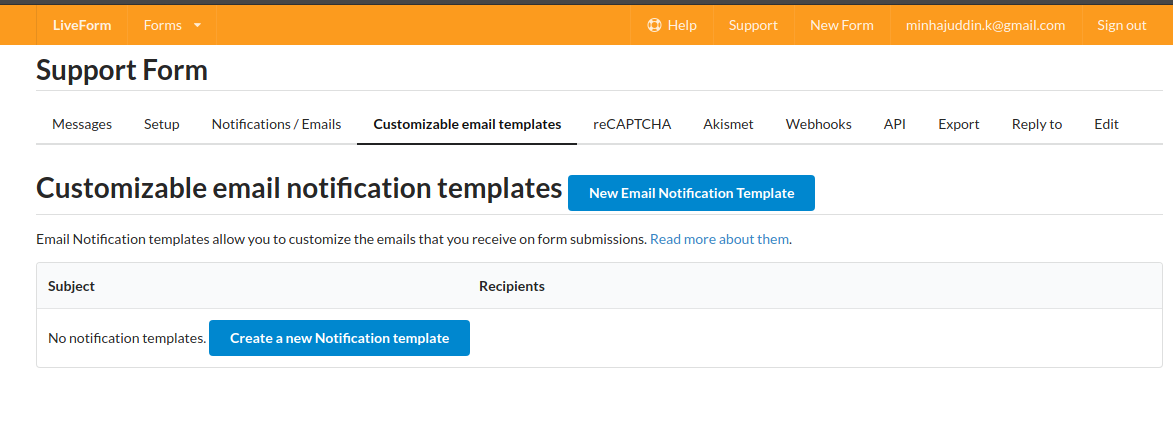
- Create a new email notification template
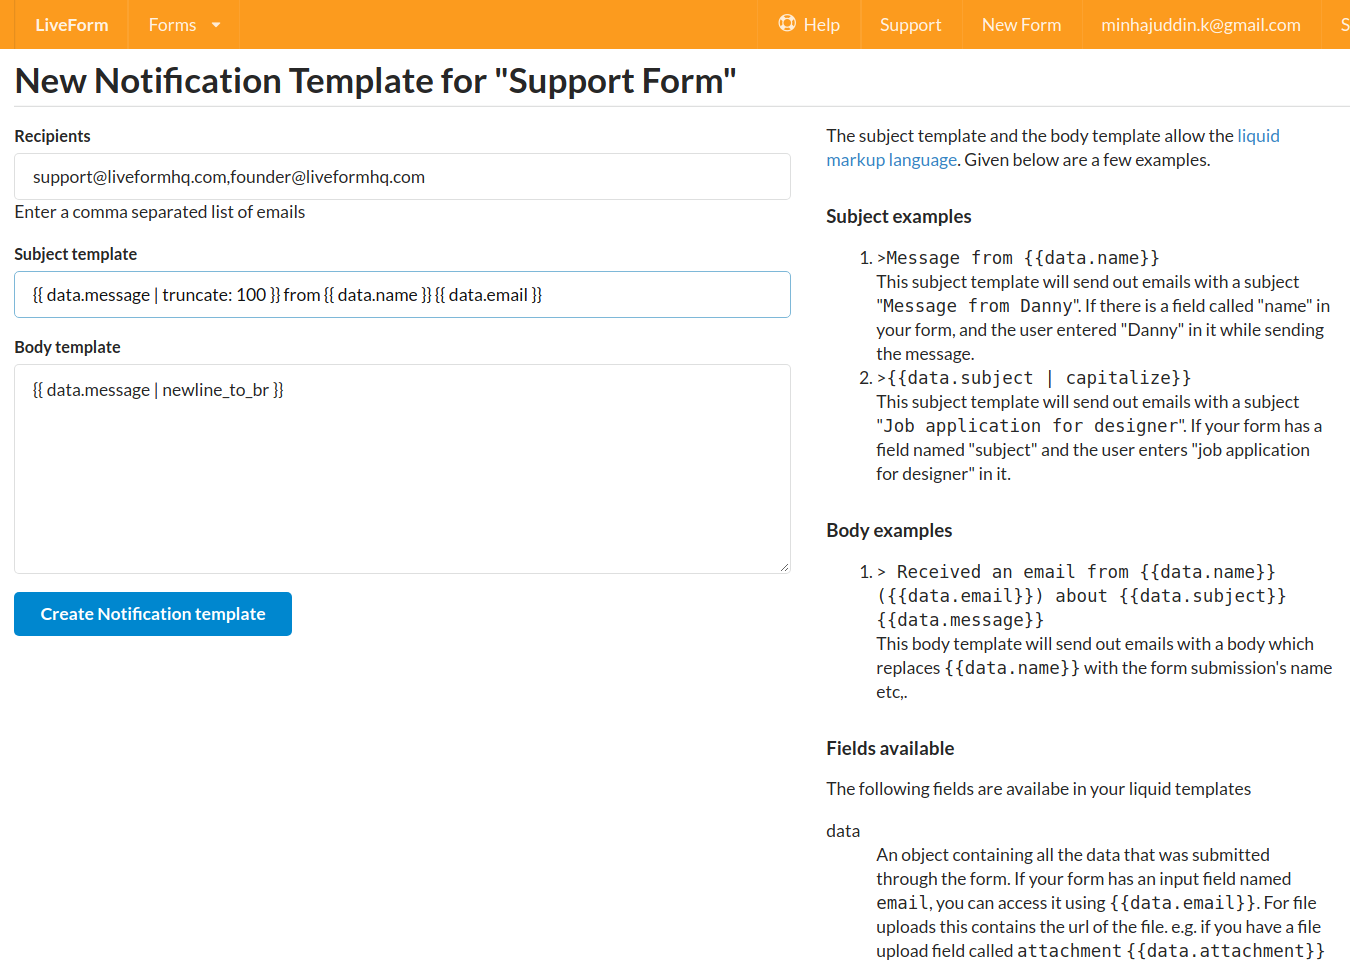 Let us look at all the fields on this page in detail. We have a recipients input field
which allows you to fill the recipients for this new notification. This can be filled
with multiple recipient emails. The Subject template as the name implies is the
template for the subject of the outgoing email. This template can have any text
plus data using the liquid markup language.
In this example we are creating a subject line using the first 100 characters of a
field named
 messagein our form. The Body template is actually simpler, it just takes whatever was received in themessageinput field and adds<br>tags instead of newlines.
That is it! We have successfully created a new notification template. Let us use our new test drive feature to test out our form.
Go to the form’s messages tab and click on the “Test your form” button.
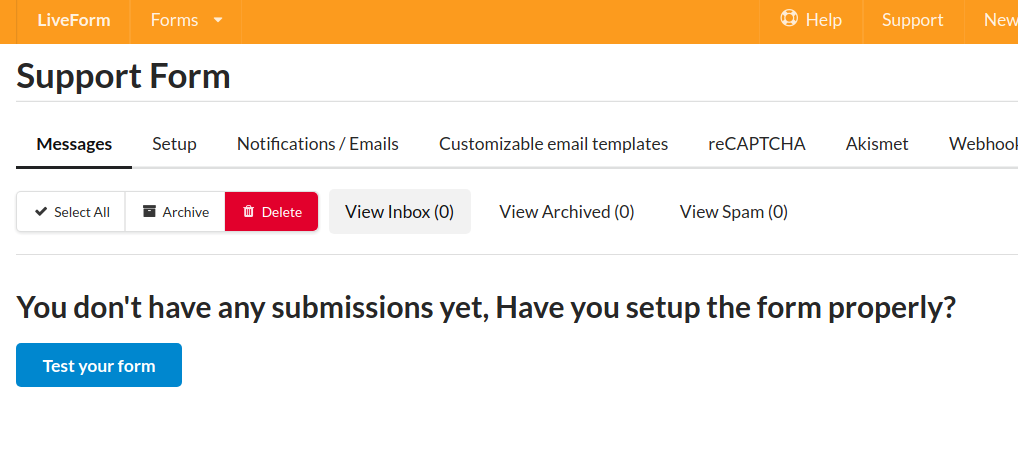
This page allows you to test the new form we just created by sending it data
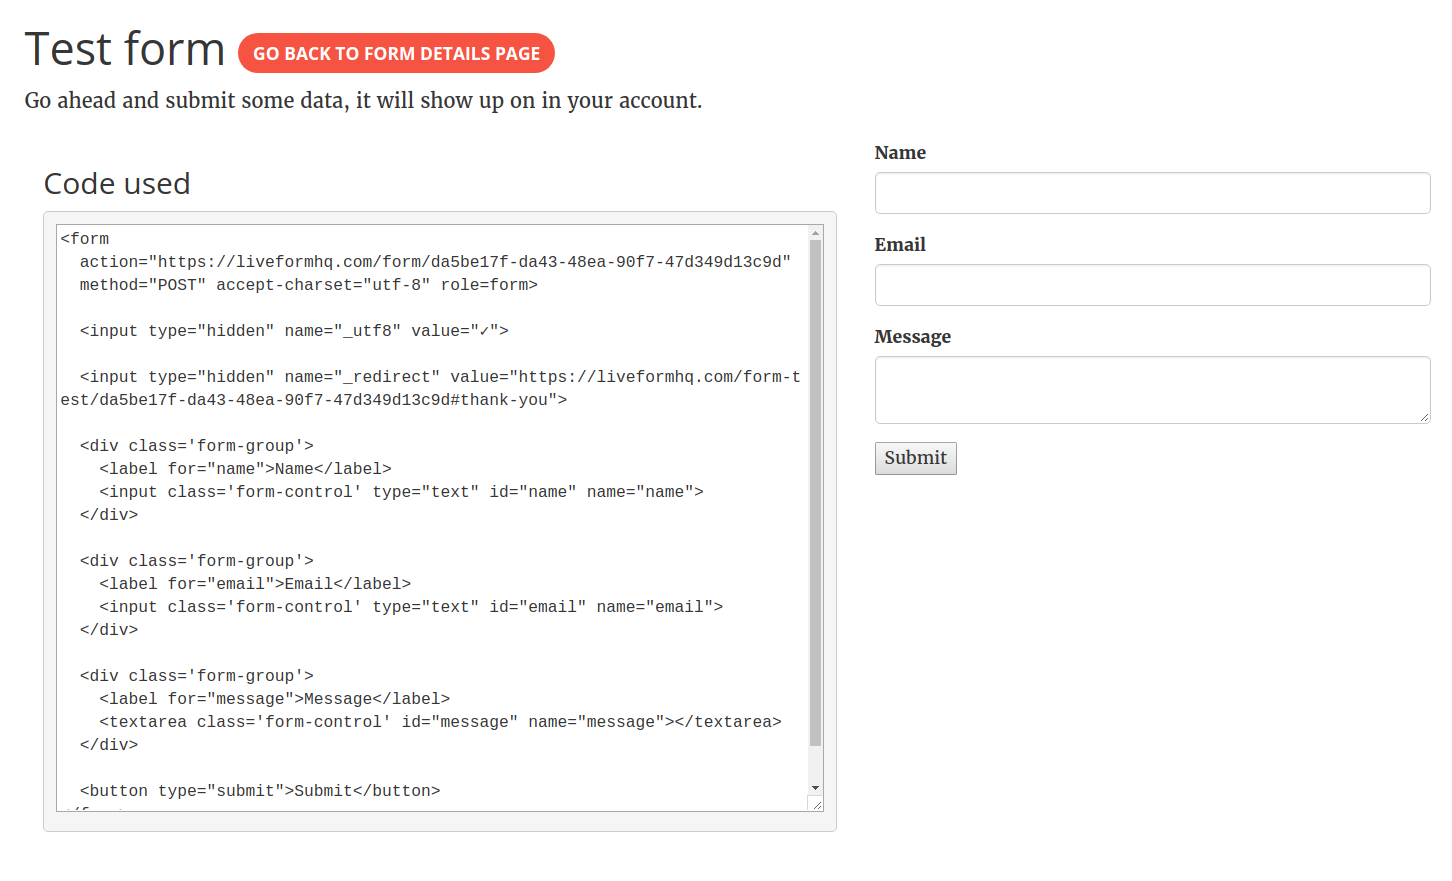
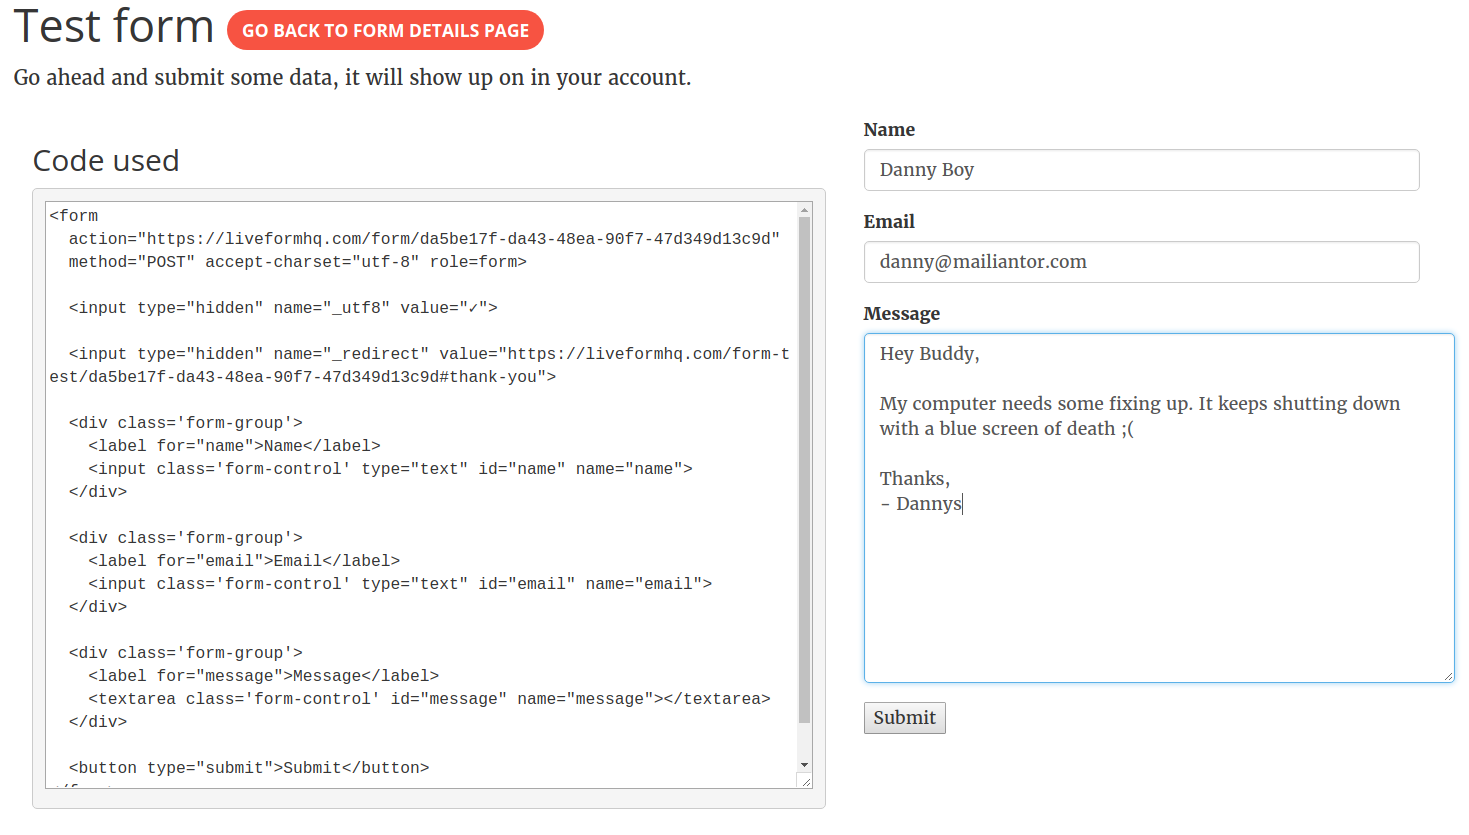
Let us submit some test data into this form.
This the email that I received. As you can see, the subject and body of the email have been created
based on our subject and body templates.
